To start the day off I wanted to cut off the excess of my end paper because my booklet was a5, but I was using a3 paper for the end paper. I had already PVA Glued the end paper together. My tutor actually explained to me that you can use a Stanley knife and a cutting mat with a metal ruler, and actually cut down the excess. It was quite interesting to learn something completely new. I was really surprised, but I was so happy that I was able to make the edges very smooth using a Stanley knife. The photographs below are showing how the book looks.


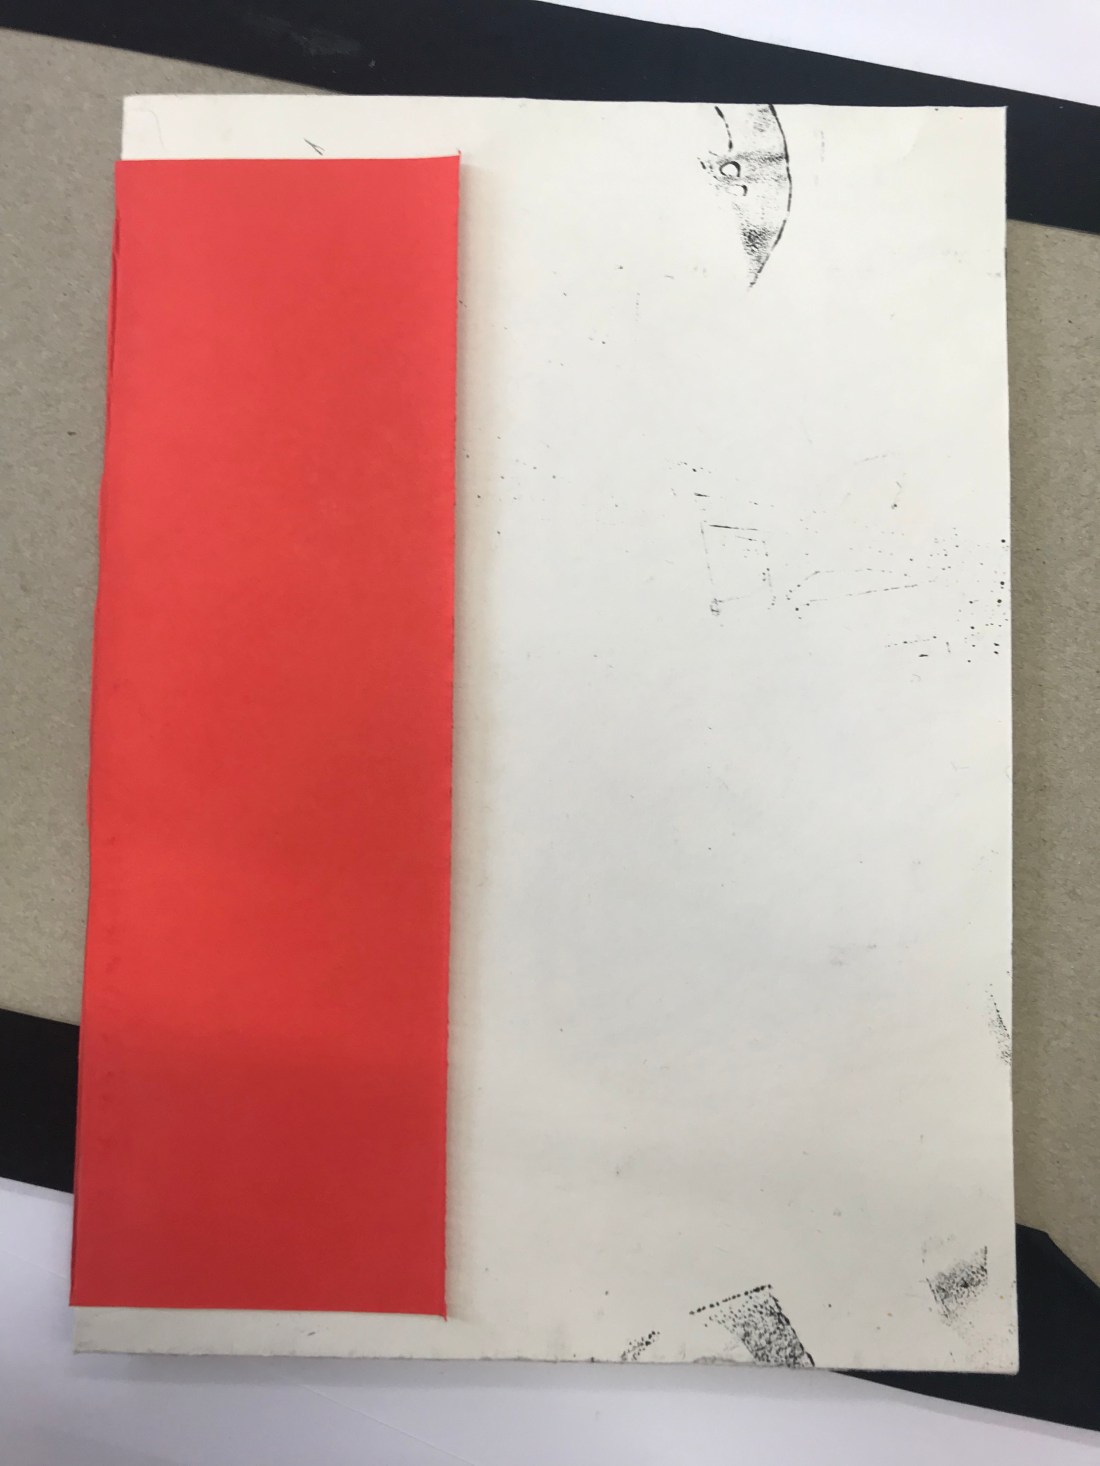
The next task was to get a scrap piece of coloured paper, and cut it down so it was smaller than the A5 book. Using a very little bit of PVA glue, glue down the middle of the coloured paper (I chose red), and then stick the book in the middle and gently close the book together, making sure everything is touching the glue, including the seam, just so that the book has some extra support.


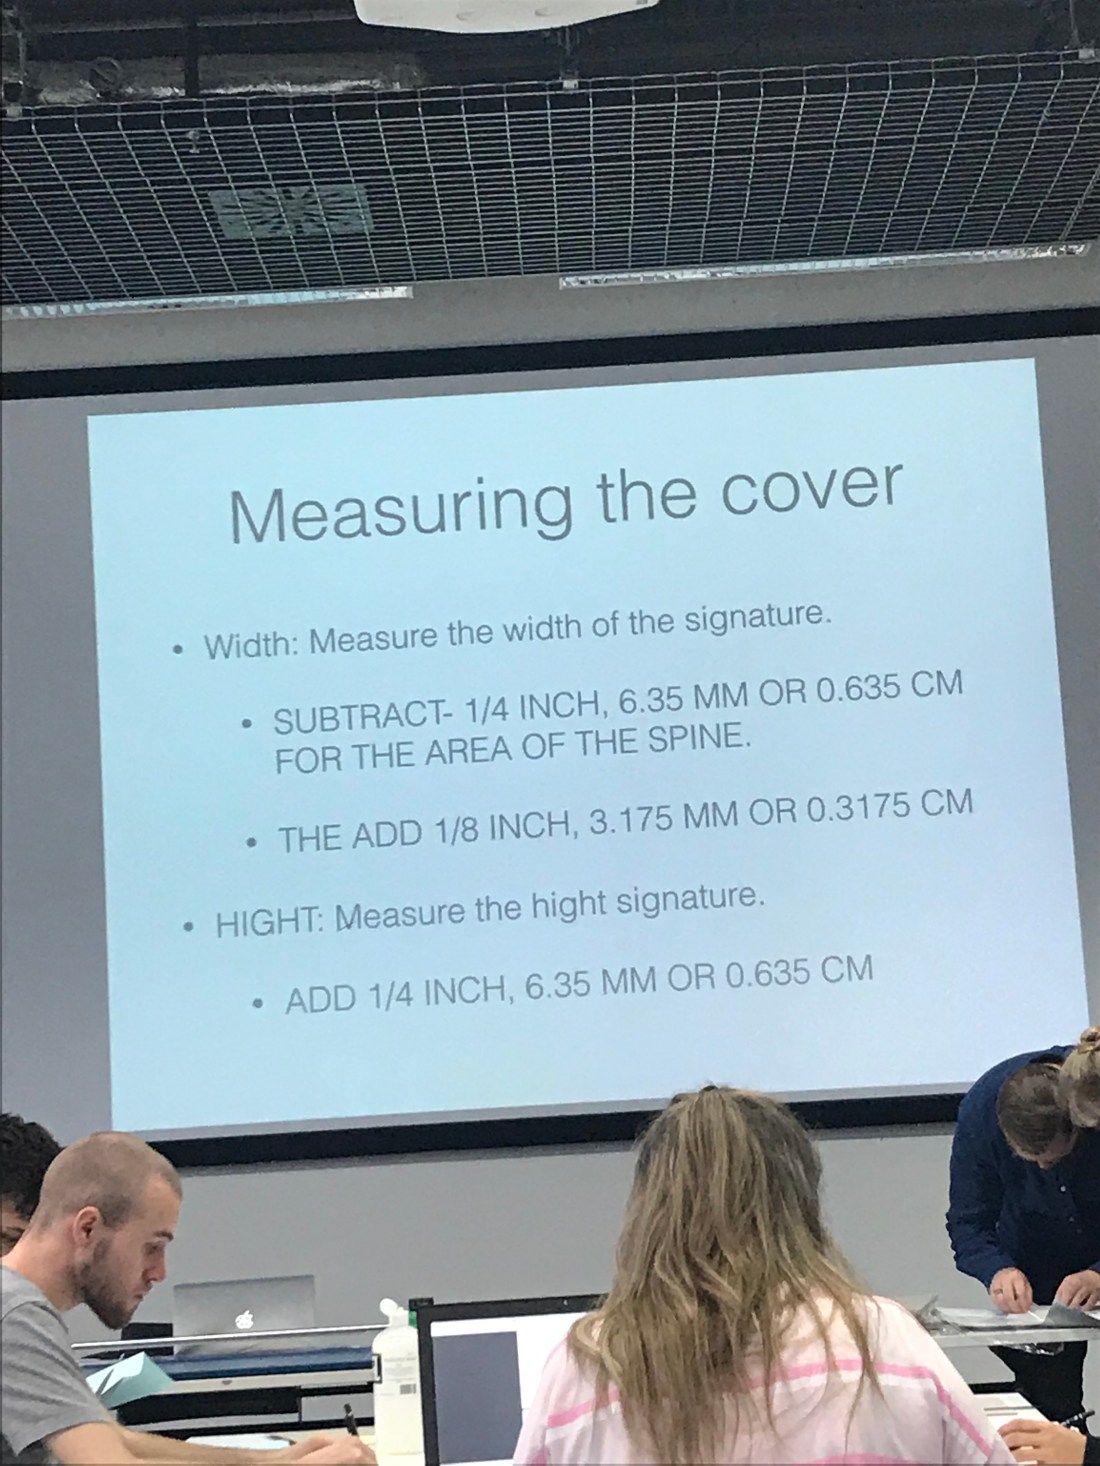
The photograph above is the measurements needed for the creating the book cover. This was quite difficult, and I did struggle with this. However, I did receive help which I appreciated, and because it was a one to one help, I felt like it helped me a lot more than when it was the demonstration.
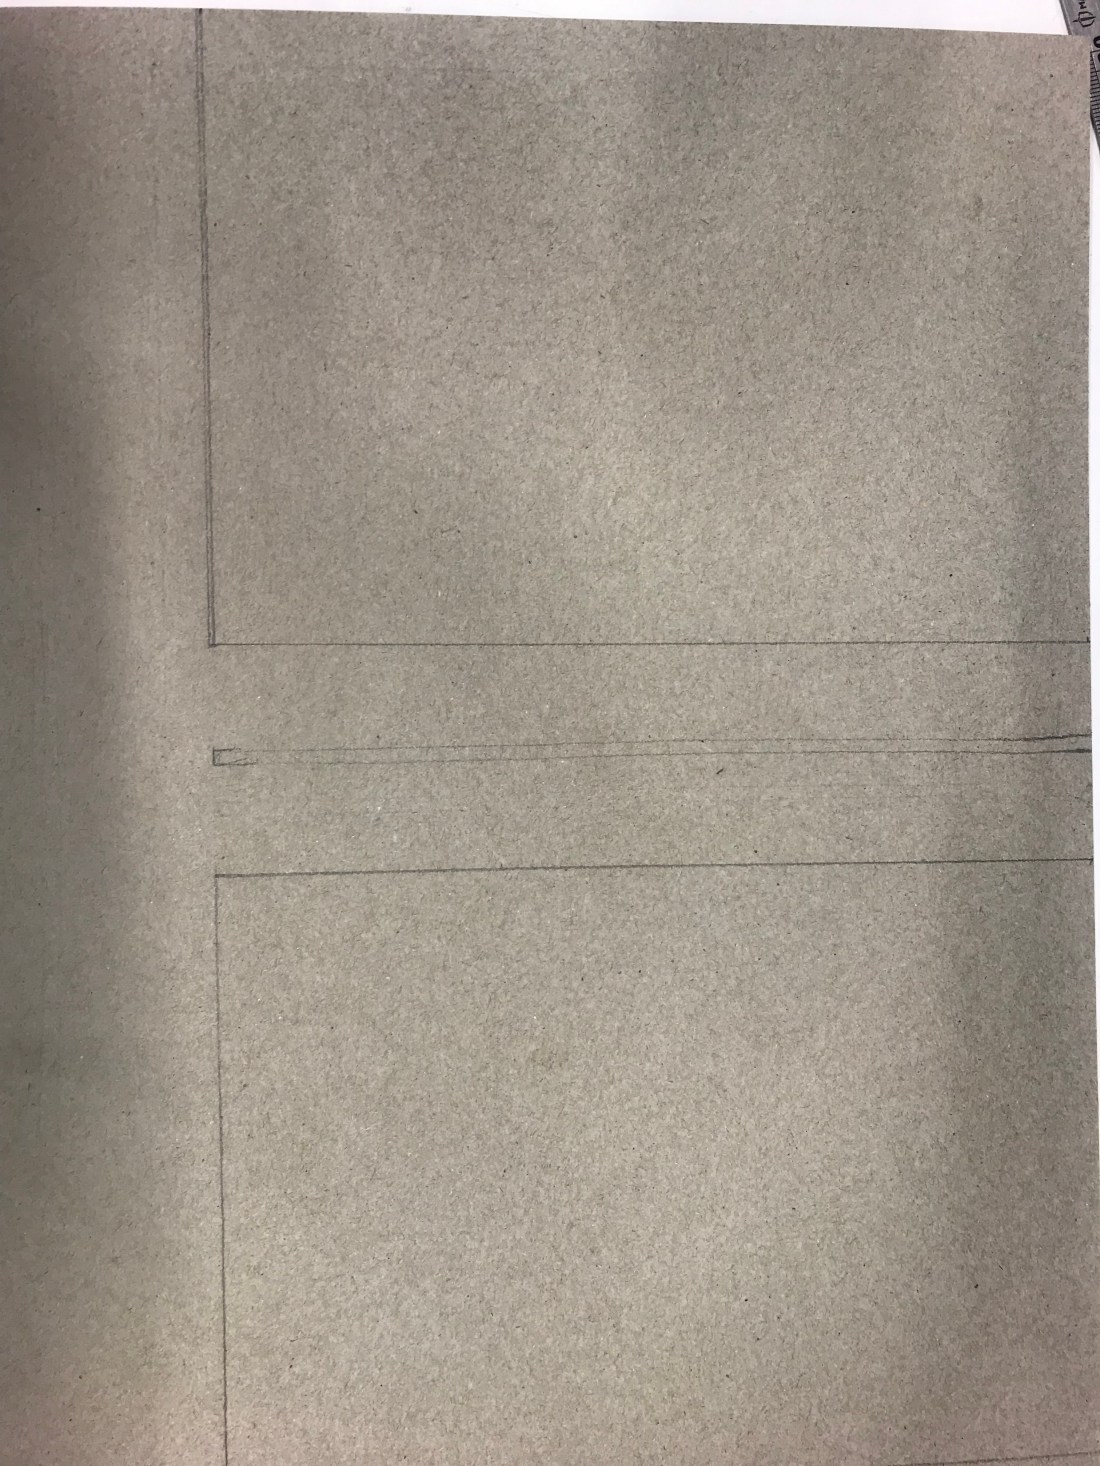
These were the drawings of the book cover, and then had to be cut out via a Stanley knife, and a ruler. The board was quite thick so I did have trouble trying to make sure the line was straight against the ruler as I had to press down quite hard to get the knife to actually go through the board.


After the board has been cut out, I put it onto book cloth. I decided to go with black book cloth because it matched my end paper of red and black, and there wasn’t any red. I then had to stick the board onto the inside of the book cloth, making sure I didnt get any PVA glue on the black side of the cloth, then I had to measure the spine depth, and add 6mm to the measurement. This create the two images above. It was to help when the book had a lot of pages in it. The book didnt actually need to have a spine because of how thin, and because there was barely any pages, but it was a good thing to learn for future references.
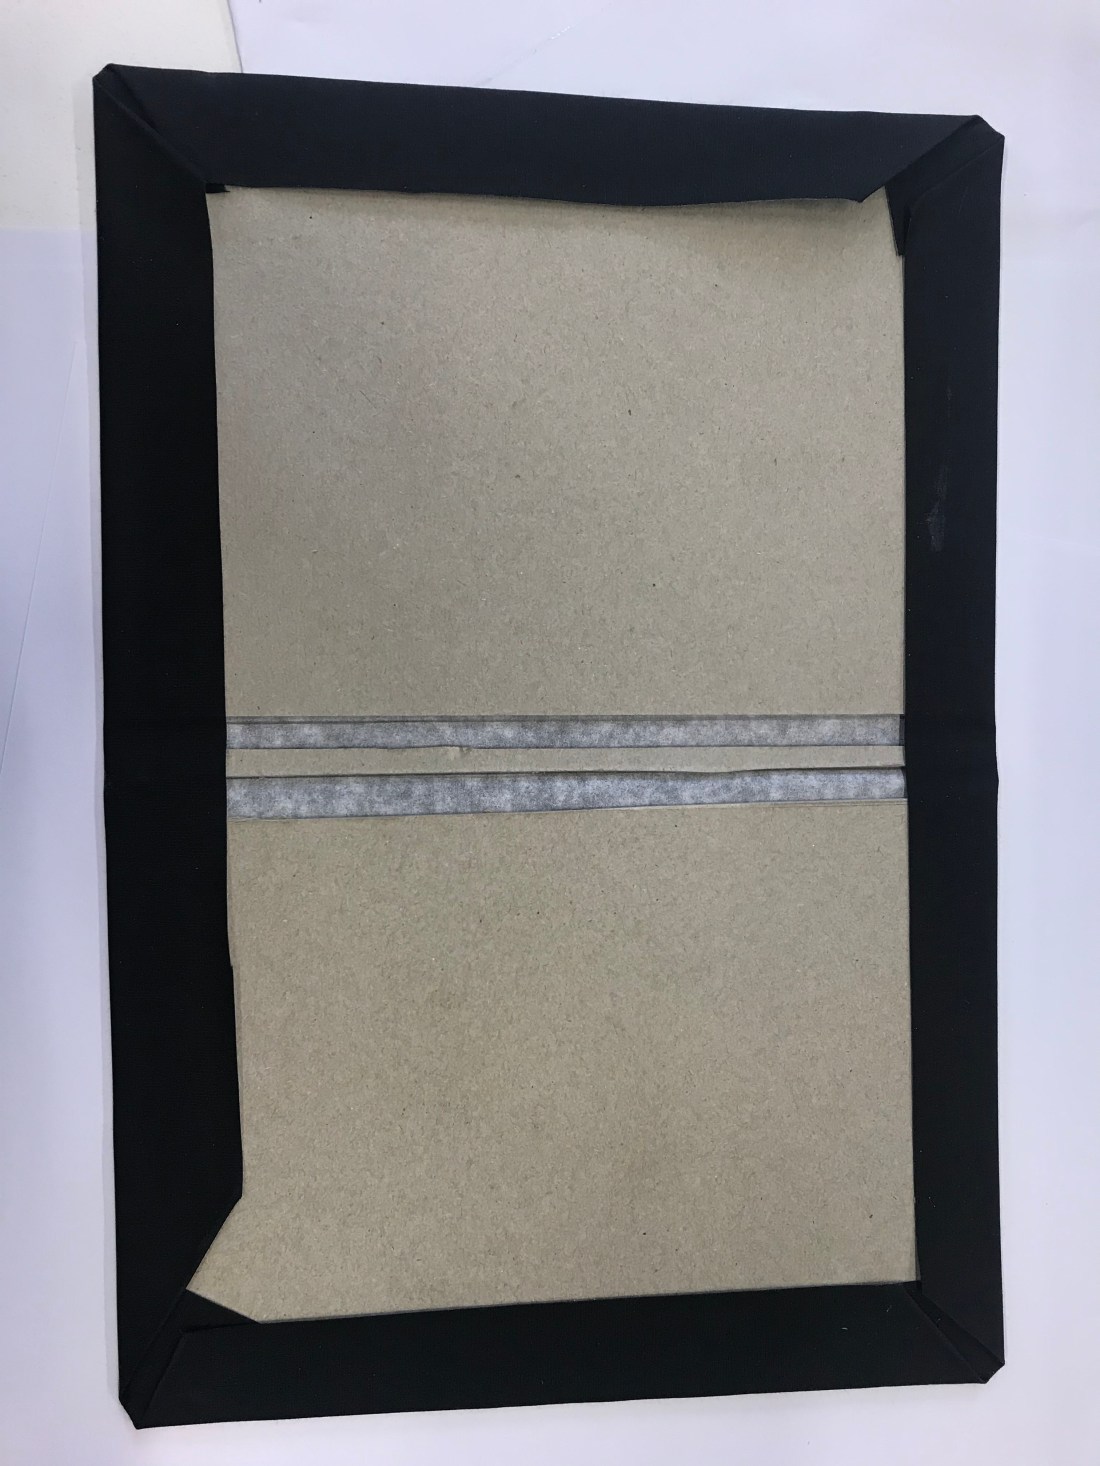
To get to the photograph above. I had to measure the book cloth around the edges so all of them were 3cm. This way we were able to create the library corner. The corner was bent into the book, all four of them, and then the edges folder over. To create to cover over the board, and create the book cover.
After this, we were to stick in our book very carefully. The extra support with paper we used we had to stick down which is shown in the photograph below:
After this was one, I layered a small amount of PVA glue on the front and back cover of the booklet and carefully laid it into the book cover. This then created the book. I left it at uni so that it was able to dry and the glue did react to the ink of the end paper design, and it went through the paper and it became quite messy.


The next task is to creating a dust cover which will be happening on Thursday.
